Logstash , the L component in the ELK stack, is a tool to ingest data from multiple sources, process, transform, enrich, and send it to Elasticsearch.
In simple words, you can use Logstash to extract the information you need from the raw data.
Figure: Logstash In this tutorial, I will show you how to install Logstash the easiest way on Ubuntu & other Linux distributions.
There are 5 common ways to install Logstash on Ubuntu & other Linux distributions:
Install Logstash using the tar.gz package (for all Linux distributions, recommended )Install Logstash using apt (for Debian-based distributions)Install Logstash using the deb package (for Debian-based distributions)Install Logstash using the rpm package (for Red Hat-based distributions)Install Logstash using Docker
Each way has its pros and cons. To me, I suggest you install Logstash using the tarball (tar.gz package) as it will be easy to customize the config later and can be installed on any Linux distribution.
However, I will show you all 5 ways to install Logstash on Linux. Let's get started.
The Logstash version at the time of writing is 8.11.3 . You can choose your appropriate platform by visiting the official download page .
Using the tar.gz package, you can install Logstash on any Linux distribution.
To install Logstash using the tar.gz package, follow these steps:
Download the Logstash tar.gz package:
console
wget https://artifacts.elastic.co/downloads/logstash/logstash-8.11.3-linux-x86_64.tar.gz
Extract the tar.gz package:
console
tar -xzf logstash-8.11.3-linux-x86_64.tar.gz
Now move it to the ~/elastic folder for easy management:
console
mkdir ~/elastic
mv logstash-8.11.3 ~/elastic
Figure: Install Logstash using tar.gz Logstash is installed at ~/elastic/logstash-8.11.3. To run it, use the command:
console
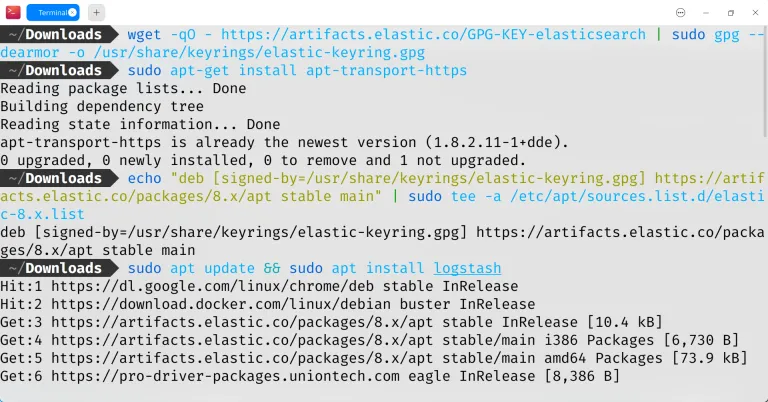
cd ~/elastic/logstash-8.11.3 bin/logstash The apt package is available for Debian-based distributions such as Ubuntu, Debian, Linux Mint, etc.
To install Logstash using apt , follow these steps:
Download and install the public signing key:
console
wget -qO - https://artifacts.elastic.co/GPG-KEY-elasticsearch | sudo gpg --dearmor -o /usr/share/keyrings/elastic-keyring.gpg
Install the apt-transport-https package on Debian-based distributions:
console
sudo apt-get install apt-transport-https
Save the repository definition to /etc/apt/sources.list.d/elastic-8.x.list:
console
echo "deb [signed-by=/usr/share/keyrings/elastic-keyring.gpg] https://artifacts.elastic.co/packages/8.x/apt stable main" | sudo tee -a /etc/apt/sources.list.d/elastic-8.x.list
Run apt update to update the package database, then install Logstash:
console
sudo apt update && sudo apt install logstash
Now Logstash is installed at the default directory: /usr/share/logstash. To run it as a service, use the command:
console
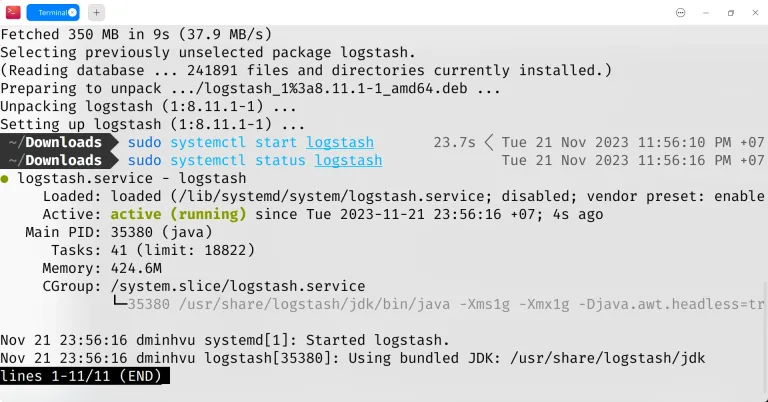
sudo systemctl start logstash Figure: Install Logstash using apt You can check the status of the service using the command:
console
sudo systemctl status logstash If you see the status is active like the image, then Logstash is running successfully.
Figure: Checking Logstash service status To stop Logstash, use the command:
console
sudo systemctl stop logstash Similar to the apt way, the deb package is also available for Debian-based distributions such as Ubuntu, Debian, Linux Mint, etc.
To install Logstash using the deb package, follow these steps:
Download the Logstash deb package:
console
wget https://artifacts.elastic.co/downloads/logstash/logstash-8.11.3-amd64.deb
Install the deb package:
console
sudo dpkg -i logstash-8.11.3-amd64.deb
Start Logstash service:
console
sudo systemctl start logstash
Check the Logstash service status:
console
sudo systemctl status logstash
Stop Logstash service:
console
sudo systemctl stop logstash
The rpm package is available for Red Hat-based distributions such as CentOS, SLES, OpenSuSE, etc.
To install Logstash using the rpm package, follow these steps:
Download the Logstash rpm package:
console
wget https://artifacts.elastic.co/downloads/logstash/logstash-8.11.3-x86_64.rpm
Install the rpm package:
console
sudo rpm -ivh logstash-8.11.3-x86_64.rpm
Start Logstash service:
console
sudo systemctl start logstash
Check the Logstash service status:
console
sudo systemctl status logstash
Stop Logstash service:
console
sudo systemctl stop logstash
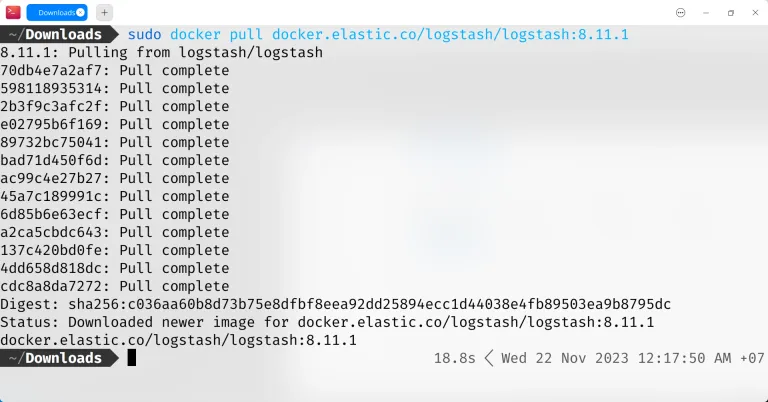
To install Logstash using Docker , follow these steps:
Pull the Logstash image from Docker Hub:
console
docker pull docker.elastic.co/logstash/logstash:8.11.3
Run the Logstash container:
console
docker run -d --name logstash -p 9600:9600 docker.elastic.co/logstash/logstash:8.11.3
Check the container status:
console
Check the Logstash logs:
console
Stop the Logstash container:
console
Figure: Install Logstash using Docker Congratulations, you have installed Logstash on Linux successfully.
If you need any assistance, feel free to leave a comment below.


Comments